
Welcome back to our deep dive into door hardware and accessories. In this edition, we'll go beyond the choice of components into the real-world work of making a door functional, safe, and stylish. Here you’ll find step-by-step guidance on installing hardware, keeping it running smoothly, and turning every door into a deliberate design element that reflects your home’s personality.
Welcome – From Hardware to Home
After you’ve selected the core hardware – handles, hinges, locks and knockers – the next step is to install them correctly, maintain them over time, and use them as a design statement. This guide will walk you through every finishing touch, from soft-close mechanisms to the right accessories, and how to keep everything in top shape.

Door Closers & Soft Close Mechanisms
| Device | Typical Finish | Ideal Door | Key Benefit |
|---|---|---|---|
| Spring-Loaded Closer | Chrome or black | Wood or solid core | Forces the door to a controlled shut |
| Fluid Actuated Closer | Matte black | Steel or glass panel | Smooth, silent closing |
| Soft Close Latch | Stainless steel | Interior bedrooms | Eliminates slam noise |
| Edge Soft Closer | Polished brass | Exterior steel door | Prevents slamming while keeping the latch engaged |
Accessories That Complete the System
| Accessory | Finish | Typical Door | What It Adds |
|---|---|---|---|
| Thermal Seal | Stainless steel | Exterior entries | Keeps draft and cold air out |
| Doorstop | Matte black or brass | Interior | Prevents door from hitting the wall |
| Insulated Keypad | Chrome | Smart home homes | Allows remote entry and audit trails |
| Decorative Latch Plate | Antique bronze | Farm style | Adds a rustic flourish |
| Keypad Lock | Matte black | Contemporary | Key free, touch free access |

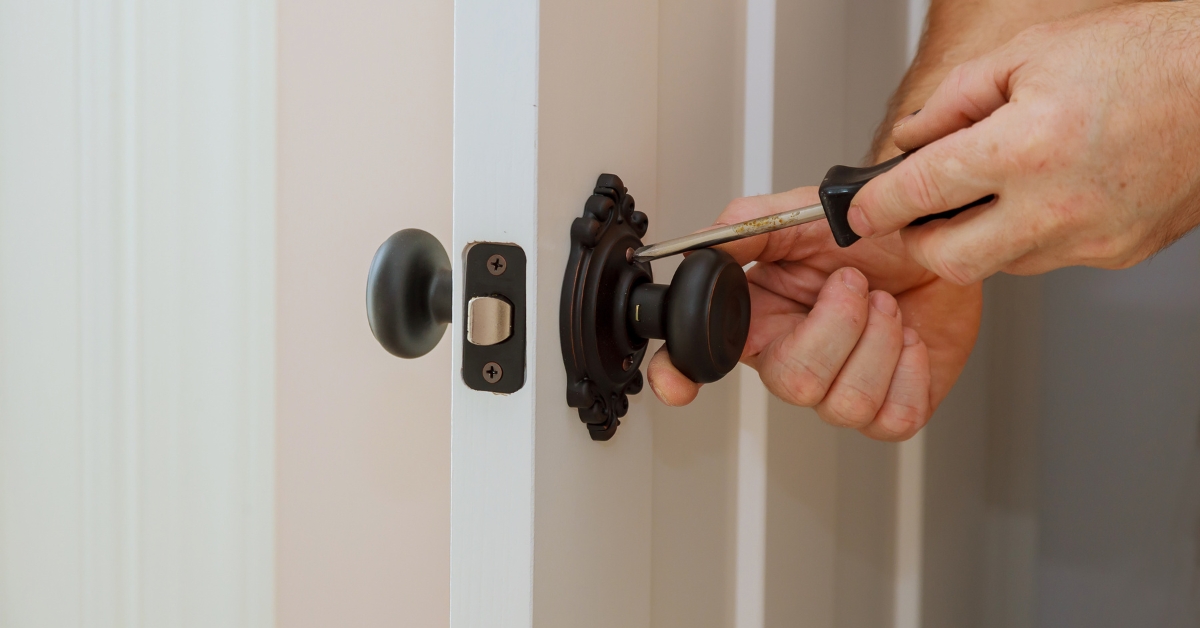
Installation & Maintenance Tips
- Predrill Hinge Holes – Measure the hinge’s leaf size; use a drill bit that’s 1/8 in. smaller than the hinge’s shaft.
- Use the Right Screws – Stainless steel, 11/4 in. is standard for most doors.
- Lubricate with Silicone Grease – Applies to all moving parts and prevents rust.
- Check Alignment Weekly – A door that swings outward or inward may need a new hinge plate or adjustment.
- Keep a Maintenance Log – Record the date of last inspection, the amount of wear, and any part replacements.
- Replace Seals Every 3 – 5 Years – A cracked or warped seal will allow drafts.
- Apply Anti-Rust Coating – In coastal or snowmelt zones, treat metal hinges and locks with a thin layer of oil or rust stopper.
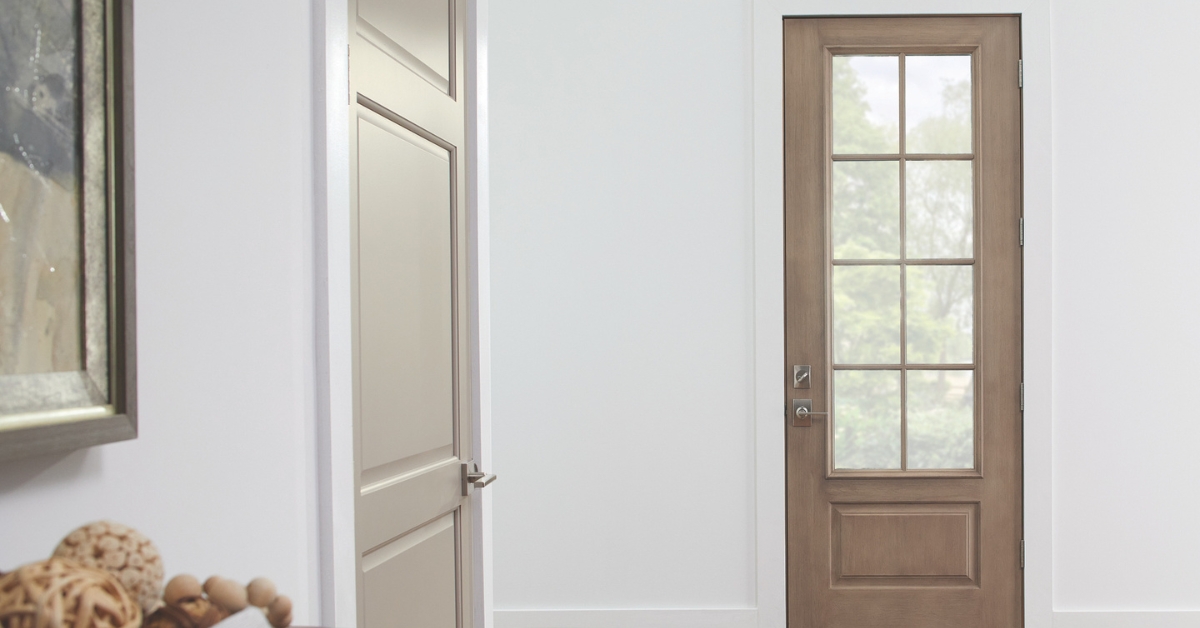
Hardware as a Design Statement
The finish, style and placement of your hardware can transform a plain door into a conversation piece. Below are four archetypal looks you can aim for, complete with a quick visual cue.
Minimalist
- Finish – Matte black or brushed nickel
- Profile – Recessed pulls that sit flush with the door face
- Placement – Centred, no extra plates or knobs
Example: A single-leaf steel hinge, a chrome pull, and a matte black electronic deadbolt.
Rustic/Farmhouse
- Finish – Natural wood, antique bronze or wrought iron
- Profile – Wood pulls or iron knob with a brass core
- Placement – Decorated with a traditional iron knocker and a mushroom head hinge
Example: A door with a brass handle, hidden hinge, and a hand crafted iron knocker.
Industrial
- Finish – Blackened steel or brushed copper
- Profile – Over-the-top pulls with exposed bolts
- Placement – Conspicuous locking hinges, exposed metal latches
Example: A metal panel door with a brushed nickel pull, concealed hinge, and a heavy-duty panic bar.
Luxury
- Finish – Gold tone, polished brass, or polished ebony
- Profile – Elaborate 3leaf hinges, a crystal encrusted keyhole, or a smart doorbell
- Placement – A large, decorative latch plate and a decorative knob
Example: An exterior steel door with a brushed nickel handle, a steel hinged lock, and a gold tone keyless entry.
Final Thoughts & Next Steps
- Maintenance Routine – Inspect all hardware quarterly, clean with a microfiber cloth, and lubricate moving parts with silicone grease.
- Professional Help – For concealed hinges or electronic locks, a certified installer can avoid costly mistakes.
- Design Consistency – Keep the finish and style of hardware consistent across all interior doors to create a cohesive feel.
Your Checklist
- Install closers and soft close mechanisms correctly.
- Apply the right accessories (doorstop, knocker).
- Conduct a quarterly inspection.
- Update or replace parts every 3–5 years.
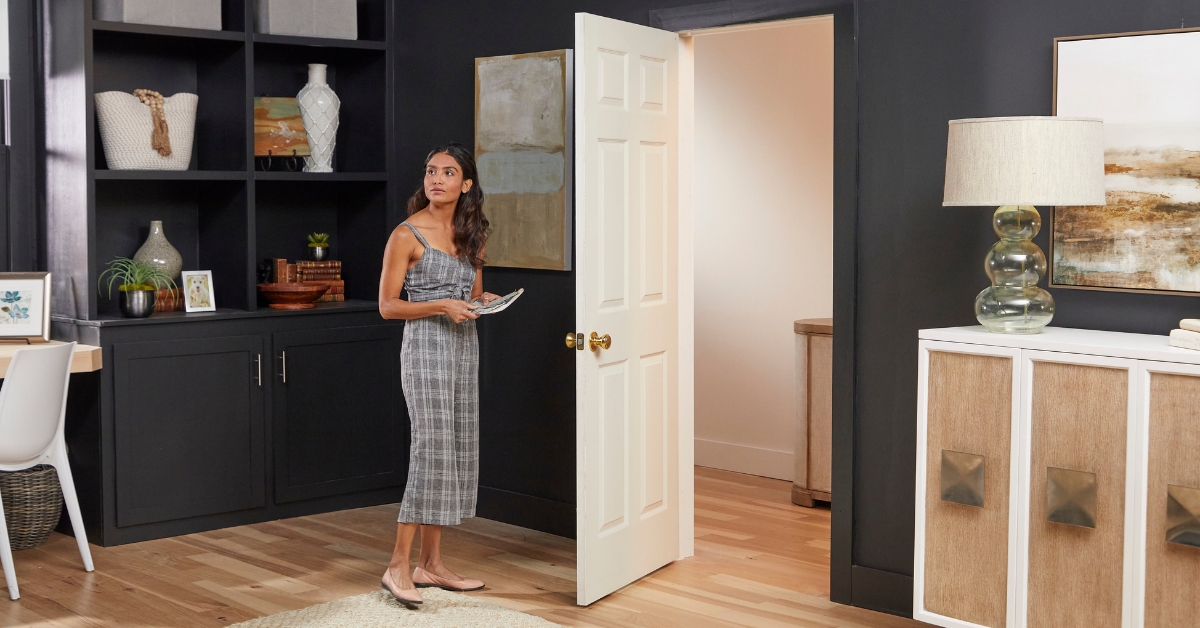
The true value of a door shows itself not in the hardware you pick, but in how you assemble, maintain, and style it. When every screw, hinge, and latch is in place and every finish matches the room’s vibe, you’re not just keeping your home secure – you’re inviting people in with confidence, comfort, and a touch of character.


Filter by:


